One of the advantages of deactivating a member by entering the date they left the unit - instead of deleting their membership record - is that it makes it very easy to restore their information if they ever come back.
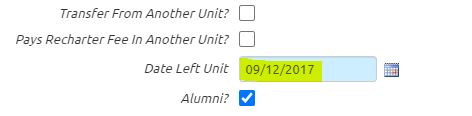
All deactivated members can be found by opening the main menu to Membership → View / Maintain Members -→ Inactive Members. To reactivate a member, find their record on this list and click the Update button on that row. Then remove whatever value was entered in the Date Left Unit field, as shown below, so that it is now empty. Then click Save & Exit to save this change. This person will no longer appear on the Inactive Members page, but will appear on the active member pages.
Once you have restored a member in this way, all of their past history - advancement, event participation, monetary transactions - will be visible again. The one exception may be their User ID.
When you make a member inactive, we recommend that you delete their user ID. Reactivating a member does not automatically restore their User ID. Instead, you will need to add a new User ID for this person.
To do this, please go to Administration → Users & Passwords and click Add a New Item.
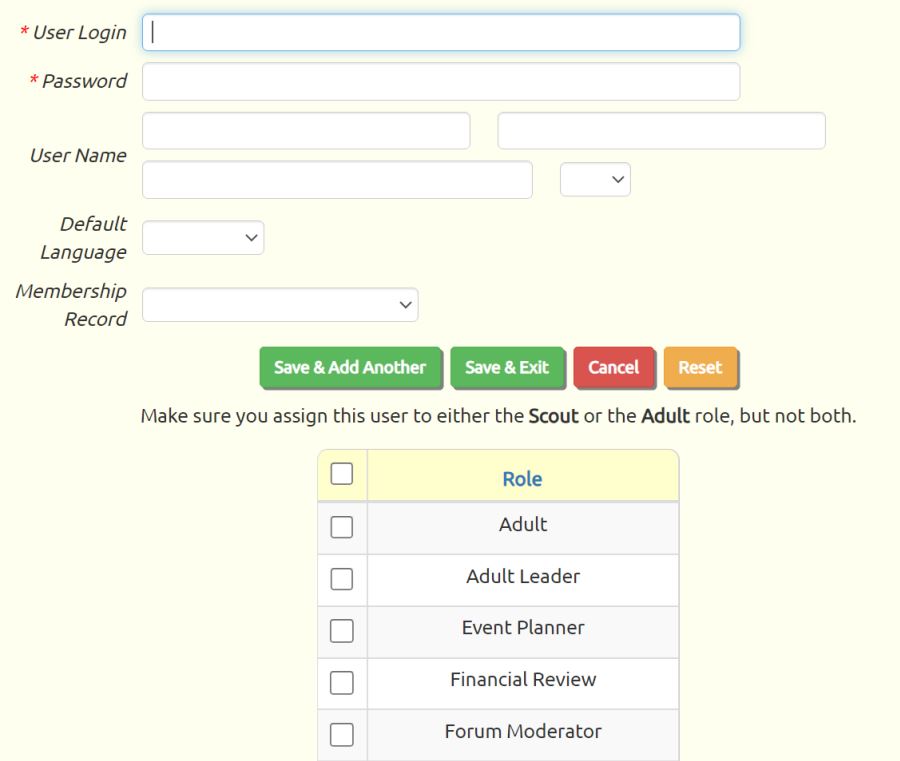
The User Login can be any text, but as a standard convention, we recommend constructing it from the person's first initial and full last name. The User Login must be unique, so if that same User Login already exists, you may need to make it unique by adding a number to the end.
Enter something like "Password1234" as the Password - it doesn't matter what you enter, since the system will generate a new temporary password when you send it to them.
The User Name should be the person's full name, beginning with their first name in the first field, followed by middle name, last name, and suffix.
You must select this person's name from the drop down list for Membership Record. This links this user ID to this person's membership record, so when they log on to the site they will be able to view their own information.
On the list of user roles, be sure to put a checkmark next to "Scout" for a Scout and "Adult" for the adult, plus any others that are appropriate for their position. Then press Save & Exit to save this record.
You can then go to Administration → Send User IDs and Passwords and select this name on the list of recipients. The system will generate a new, temporary password when it sends them the message. They will then be required to enter a new password the first time they log on.